Table of Contents
Introduction
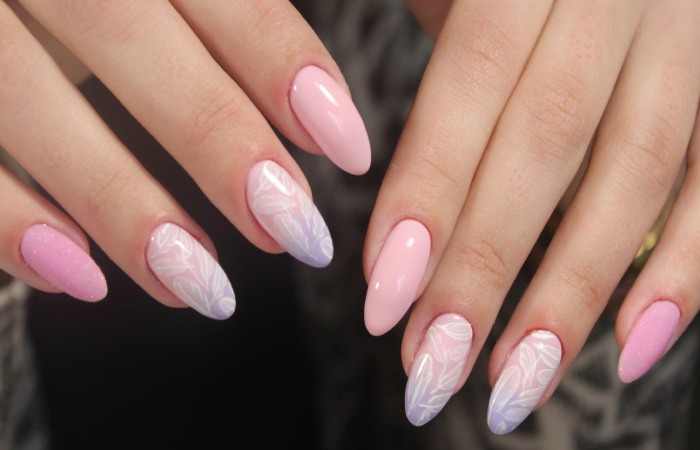
one of the most popular shapes right now? Almond Shape Nail Designs from wedding-ready almond French tips to dramatic almond stiletto designs, almond-shaped nails are having a significant moment.
Suppose you’re prepared to join the ranks of those who have mastered this coveted shape. This article will dive into traditional almond-shaped nail design basics and provide tips and tricks for learning this manicure. So please pull up a seat, and let’s prepare to get nailed!
What Are Almond Shape Nails?
Almond shape nails (coffin nails) have quickly become one of the most popular nail trends. What makes this look so striking is its versatility. You can customize it with colors, glitter, rhinestones, and other embellishments.
Whether you’re a beginner or advanced nail technician, almond shape nails are relatively simple to create. To get this look, file your nails into an oval-like shape instead of the typical round shape you would typically use. To achieve a more almond-like body, begin by filing each tip into a square before sharply tapering down the sides to give your nails a unique almond shape finish!
Once you’ve created your desired shape, you can try all sorts of nail art designs using your almond shape canvas. You can create any design with a few materials and some creativity, from simple classic French tips to intricate marble masterpieces!
Steps for Achieving the Perfect Almond Shape
Getting the perfect almond shape nails can be unapproachable, but you can have the chicest manicure with a few simple steps. Getting almond shape nails is all about symmetry and measuring, but it is easier than it sounds!
Here are the steps for achieving your very own almond shape nails:
-
- Make sure your nails are neat and filed down to a round shape.
- Measure the middle of each nail to ensure symmetry on all ten fingers.
- Carefully fill and shape each side of the pin into an inverted to form an almond shape.
- Use your desired color polish or nail art to finish the look.
You can have beautiful almond-shaped nails by following these steps in no time. No matter if it’s your first or fiftieth time doing them!
Different Types of Almond Shape Nail Designs
The great thing about almond shape nail designs is that there are many ways to customize them using different techniques, colors, and effects to get the perfect look. So whether you’re a beginner or a tested pro, you’ve got plenty of options!
Here are some of the types of almond shape nail designs:
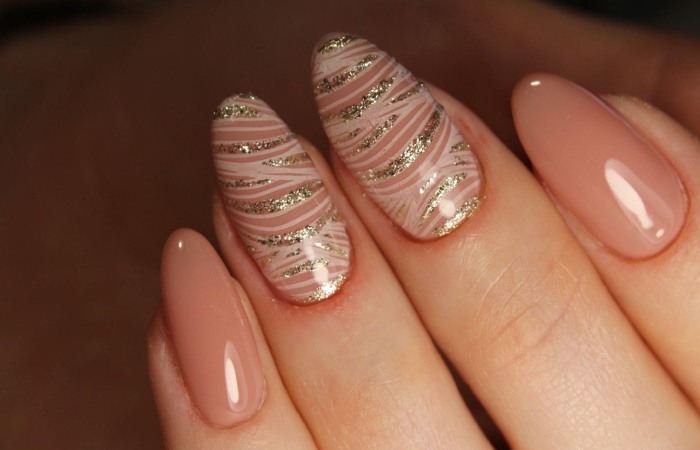
- Glitter nails: Who doesn’t love glitter? You can use it on any nail design, but it looks especially striking on almond-shaped tips. Gel polish comes in gorgeous glittery shades and is easy to apply. Make sure you have a stable hand and some patience!
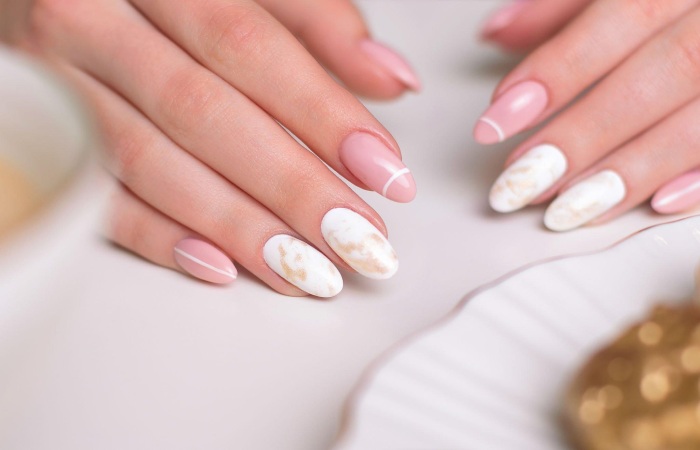
- Marble nails: Give your nails a luxe look with marble effect gel polish. It’s way more intricate than traditional polish and gives your nails an art-gallery-worthy esthetic. Plus, no two are alike, making it even more special!
- Rhinestone acrylics: Add some sparkle to your almond shape mani with rhinestones in any size or color you like! Get creative and make patterns or go for a more subtle look by adding smaller rhinestones around the edges of each nail.
How to Customize Your Own Unique Almond Shape Design
The beauty of almond shape nails is that they are highly customizable, allowing you to create your unique look. With a few essential tools and techniques, you can get creative. Some of few pieces of advice to help you get started:
Adding Color
Try adding color to your nails with gel or acrylic paints to start your design. You can use shades to create the desired effect for your almond nails, from subtle nudes to bright, bold hues.
Detailing
Once you have laid down the base color, it’s time to get more detailed with the design; this is where you can make your almond nails unique by adding stickers, rhinestones, swirls, glitter, or other decorations of your choice. No matter what design you create, stand out from the crowd!
Finishing Touches
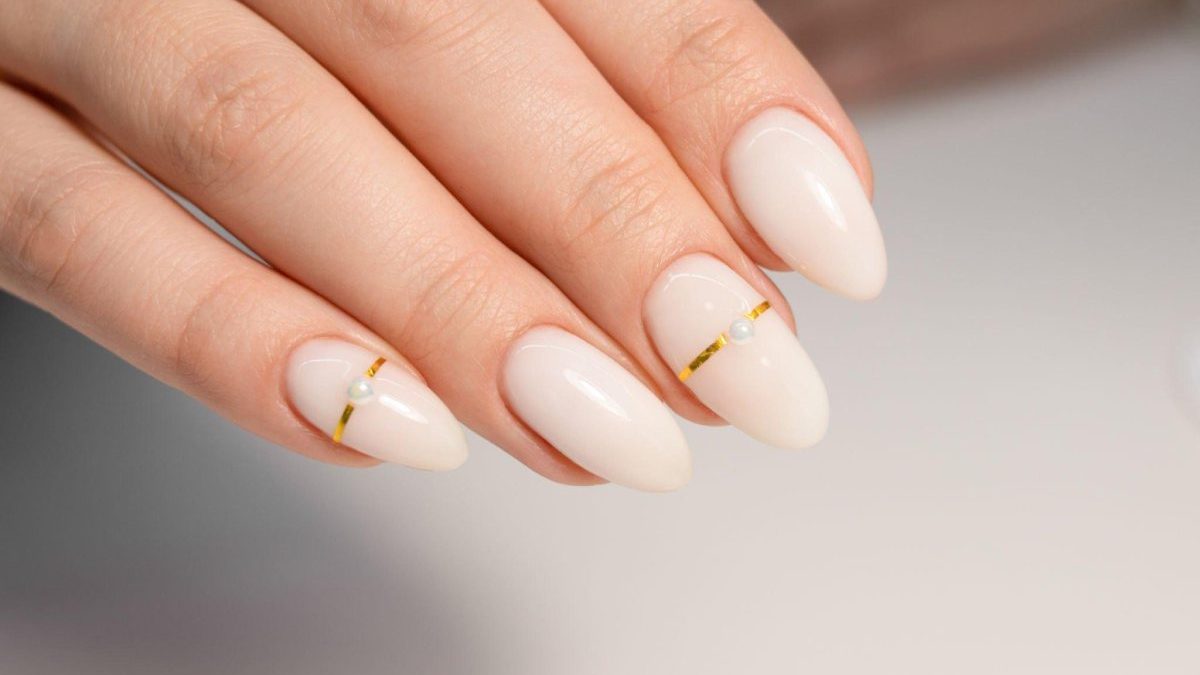
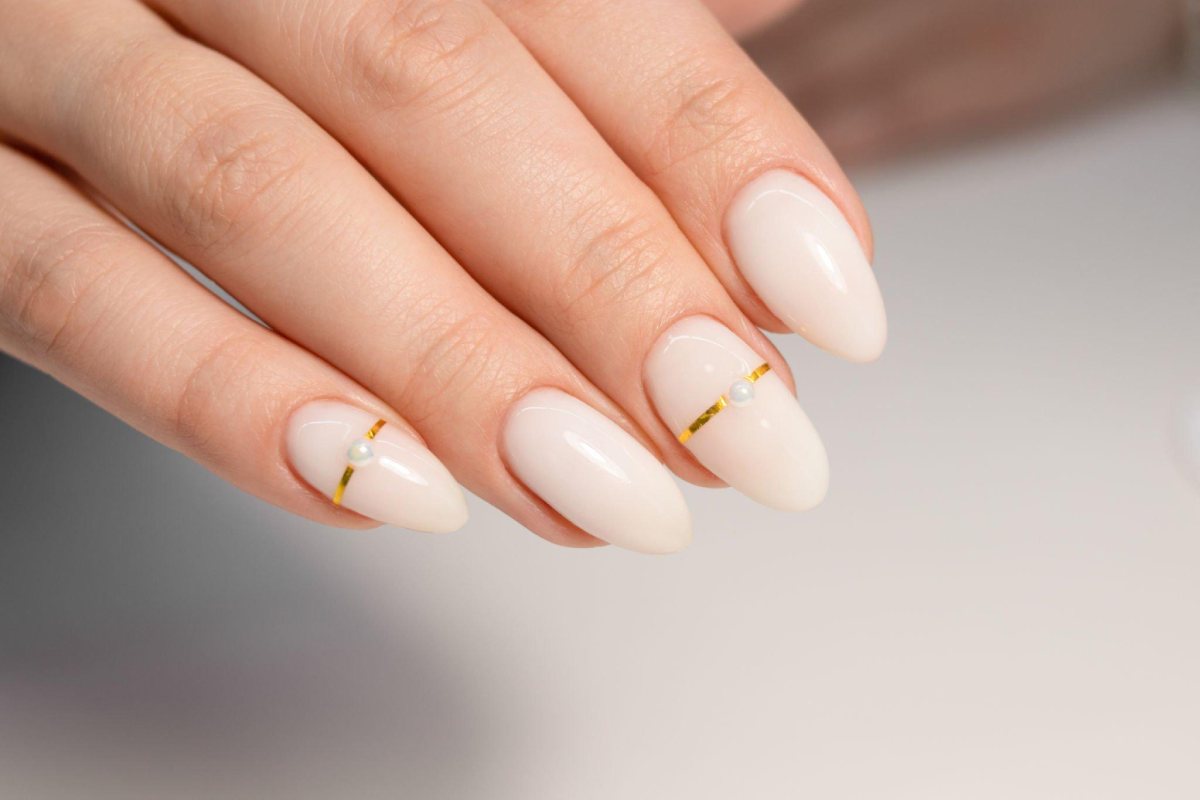
Finally, take some time to finish up your design by adding extra touches like foil accents or metallic polishes. Then, for an extra touch of glamor, top it off with a shiny top coat that will keep your nail design looking beautiful for days or weeks.
With these guidelines, you can craft gorgeous almond shape nail designs perfect for any occasion – whether a fancy evening event or just dangling out with friends on the weekend!
Best Colors to Use for Almond Shape Nails
Are you wondering what colors work best for almond shape nails? The answer may surprise you! While the classic red is always a winner, pale pastels and bright whites can also look great on almond shapes.
Here are some of the top colors to use on almond shape nails:
- Bright or pastel pink
- Bright or pastel blues
- Glittery silver and gold
- White
- Navy blue
- Grays
- Oranges and corals
- Darker purples and violets
- Neutral beige tones
- Soft greens
Whatever you pick, remember to make sure your color choice complements your overall style, so have fun trying different combinations of color, texture, and accents!
Tools Needed for Sculpting the Perfect Almond Shape
Now that you have the basic gist of how to shape your nails into almond shapes let’s discuss the tools you’ll need.
A good manicure set is essential for creating almond shape nails. You’ll need a few items from that set:
- Cuticle Pusher helps push back cuticles to get an even shape around your nail. It should be made of stainless steel and have a thin, angled tip to get in there and clean it up.
- Nail File A nail file is used to smoothen any rough edges and give your final shape a sleek and polished look!
- Nail Clippers use these to trim your nail to the desired length before filing it into an almond shape.
- Buffer or Shine Block, use this tool after filing your nails to buff them up for shine and perfection!
- Top Coat Finally, apply a glossy top coat for long-lasting protection!
With all these must-have tools, you’ll be an almond-shaped master in no time!
Conclusion
All in all, adding your flair lets you make the most of the almond shape nail design. So whether you opt for a glamorous look with intricate detail or a minimalist design, you can be sure that your nails will be the talk of the town.
We hope this has assisted in enlightening you on the basics of almond shape nail design and that you can now make the most of it. Experiment with different techniques, suggest ideas to your nail artist, and express yourself with fantastic nail art. Be sure to share your favorite designs with us on social media to be featured.