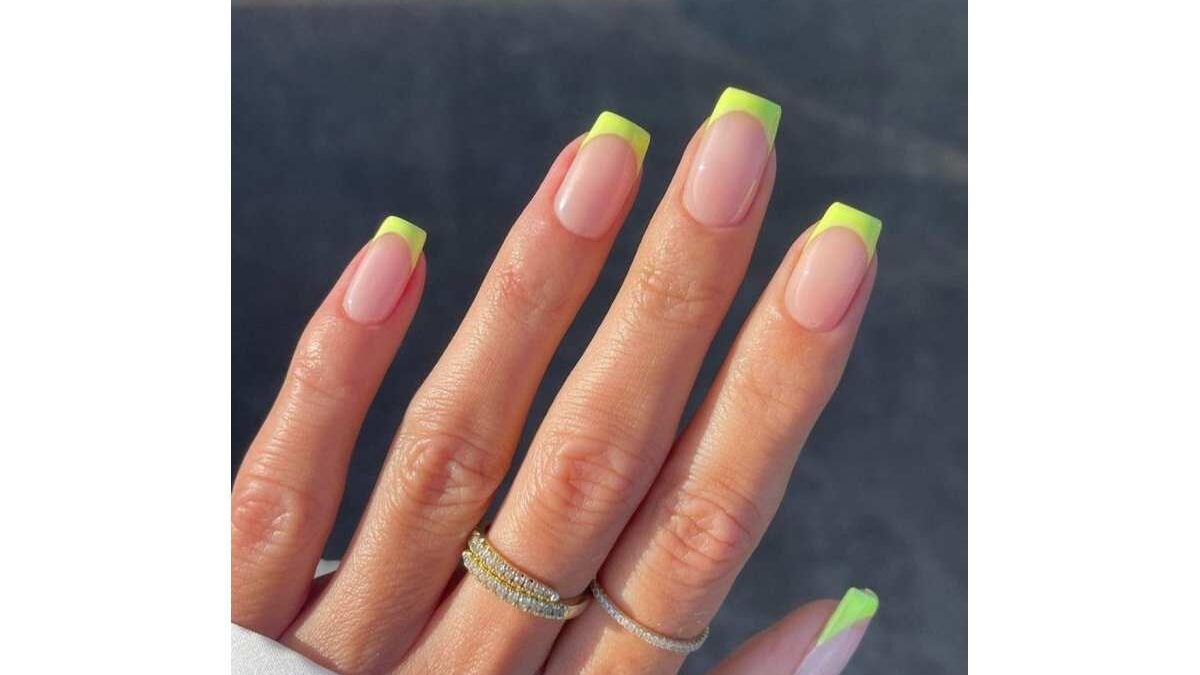
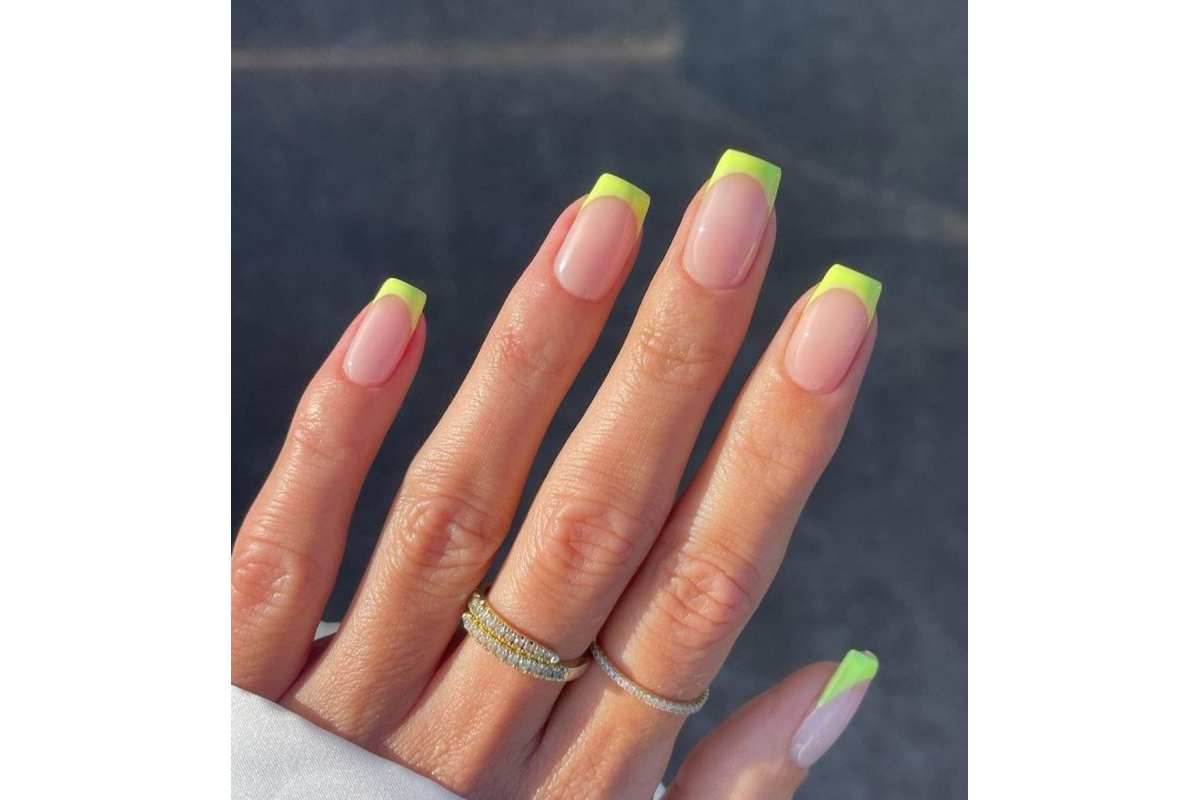
One of our favorite nail art designs is Color French Tip Nails. They’re classic, easy to do, and make your nails look amazing.
Today we will take it one step additional and explore how to paint colorful French Tip Nail Art Designs. We’ll give you a few thoughts to get you started and provide tips on executing them properly. Plus, with our help, cleaning up afterward will be a breeze! So grasp a cup of tea and your supplies – it’s time to get creative with colorful French Tip Nail Art Designs!
Table of Contents
What You Need to Get Started
Painting colorful French tips may look bold, but you can good results with the right tools and practice. To get started with this nail art design, here is a list of things that will need:
- Nail polish in colors of your choice
- Base coat & top coat to protect your nail shape or stickers that fit on the ends of your nails
- A flat surface to rest your hands on & a stove matches stick or orange stick for cleaning up mistakes.
- Nail polish remover for quick touch-ups and clean-up
With these essentials, you. ‘re ready to explore the world of colorful French tip nail art designs!
Step-by-Step Guide to Creating Colorful French Tip Nail
Designs Art
Painting the perfect colorful French tip nail art designs is easier than you think! Follow this step-by-step guide to get beautiful nails in no time.
First, you’ll need to start with clean nails. Then, apply a base coat to each nail and let it dry full. Next, use a small nail art brush to paint a white French tip on each nail. It can be tough, so take your time and use light strokes to get the shape.
Once the snowy tips are complete and you have had ample time to dry, it’s time for the entertaining part. First, the color paints the rest of each nail with your desired color, using two coats if necessary. Then, when finished, apply a top coat over the entire design and let it dry completely.
And voila! With proper care, you now have color French tip nails lasting up to two weeks.
Tips & Tricks for Perfecting Your Design
Painting your nails with a French tip design doesn’t have to be overwhelming. With a few pieces of advice and tricks, you can master any method you choose. Here are some effects you want to keep in mind when painting color French tip nail:
Base Coat
Start your look off with a base coat to keep your nails from the harsh substances in the polish. Next, choose an opaque color that won’t peek through any light shades you plan to use for your design. A neutral color like white is best for this step.
Striping Tape & Wrapping Stickers
For more intricate designs, use striping tape and wrapping stickers to help create clean lines and keep your paint from smearing outside the area you plan to color. But, of course, if you don’t have any of these supplies, regular Scotch tape works just as well!
Use Multiple Colors & Shapes
When picking out colors and shapes for your design, don’t be afraid to mix them up. A French tip design is all about creativity, so there is no need to edge by hand. You can use multiple colors or rounding corners instead of straight lines or points. Whatever speaks to you!
Top Coat
Once your paint has dried completely, finish off your look with a top coat or two to cover in the polish and add shine. Be sure to wait for at least 2-3 minutes between coats and avoid getting too close on either side of the nail, as this will smudge excess polish.
Choosing the Right Polish and Colors
You must choose and polish the colors when painting colorful French tip designs. It gives the best color payoff when you decide to use multiple colors. Then you can pick any shades that best fit the look you’re going for.
Nail Art Pens
If you want even more control when painting your French tips, you should use a nail art pen. These pens are designed for nail art and allow for more easy lines and strokes when creating designs on the nails. So they open up new possibilities when it comes to color combinations!
Color Combinations
Once your colors are selected and ready to go, it’s time to decide on the color combinations. For example, if you want your tips to be bold, try combining two colors like, pink and black or yellow and purple. Or, if you prefer something softer, try softer shades of the same color, like lavender and pastel blue. The possibilities are endless!
How to Create Different Patterns
While the French tip is timeless, you can create different patterns to make it look modern. For example, try a polka dot French tip or a checkerboard pattern using the same technique to give your nail look some extra flair.
Here are two easy step-by-step techniques for how to achieve these looks in just a few simple steps:
Polka Dot French Tips
- Start with a white French manicure and let it dry before you move on.
- Dip a dotting tool or the end of an orange stick into your chosen color, then dot around your white tip in any pattern that takes your fancy!
Checkerboard French Tips
- Start with one nail polish color and paint the entire nail to the cuticle.
- Take another contrasting shade and use the same technique to paint alternate squares (left-right), then go back and do all the other ones (up-down).
- After your design has dried, layer it with a toning top coat for added shine!
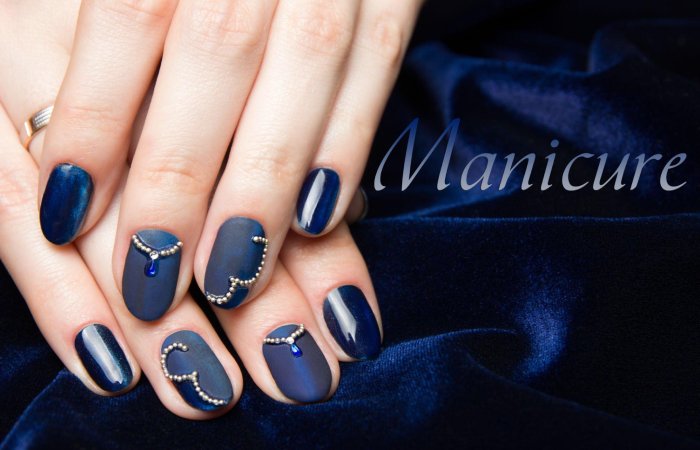
Finishing Touches: Sealing, Decorating, and Caring for Your Nails
The last step of painting colored French tip nail art designs is to finish with sealing and decorating. It seals the structure and sets it so that it can last longer. You can also customize the chance to add a fun extra touch, like 3D decals, rhinestones, and glitter, for extra glamor.
Classic Sealing Method
You can use a classic method with a top coat to seal your design. Put one thin layer of clear colorless polish over the entire nail and cover all tips of the nail art design. It will also add a nice glossy effect that makes the artwork pop!
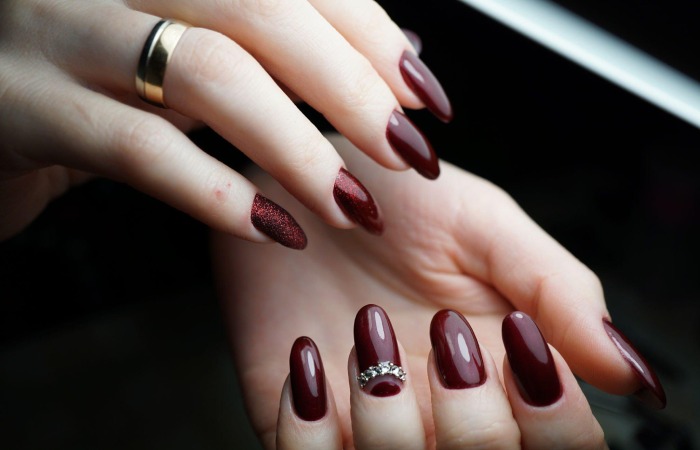
Decorating Touches
There is much conduct you can go about decorating your nails further. And also you can find small 3D decals or fun sparkly rhinestones that you can stick on the tip of your nails after they are painted and dried. You can also incorporate glitter in all sorts of ways. For example, mix it with your nail polish or paint designs with it, or add an accent of glitter at the tips.
How to Care for Your Nail Art Design
Finally, when taking care of your new color French tip nail art designs, remember not to soak them in water for too long or scrub them too harshly, as this may remove some of the color and design. Your best bet is to pat dry any water contact so that your nails stay vibrant for as long as possible!
Final Thoughts
In conclusion, painting colorful French tip nail art designs can be fun, creative, and confidence-boosting. With the correct tools, a steady hand, and practice, you can produce beautiful nail art designs that turn heads! So, roll up your sleeves, grab your devices, and get creative!